Through the use of Webhooks your frontline Zendesk Agents can have the ability to capture innovation ideas from tickets and push them directly into Brightidea.
Setting up the Webhook:
In Terminal or Postman:
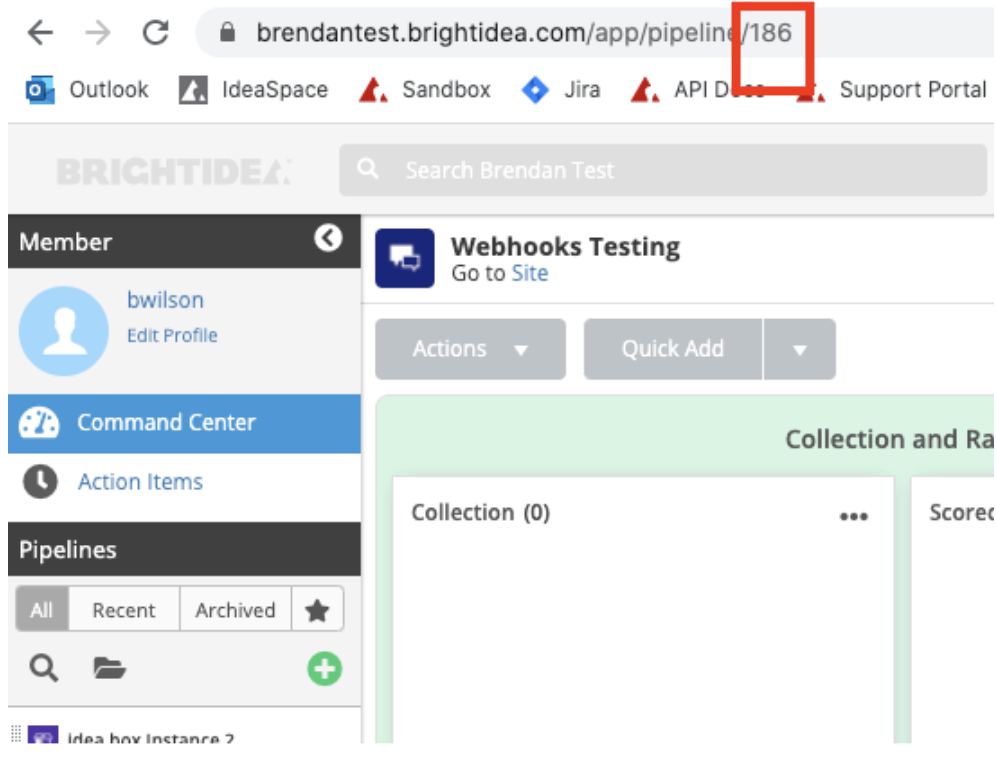
- Locate the pipeline ID for the initiative you want to connect to Zendesk. Easiest method is to get it from the end of the URL in Steps or List view:
- You'll now need to add a webhook through an API call to that specific pipeline that will catch incoming requests. Here's how it will look in Postman:
- Grab an access token by making a request into /_oauth2/token (see: Authentication - Password Credentials Flow for details)
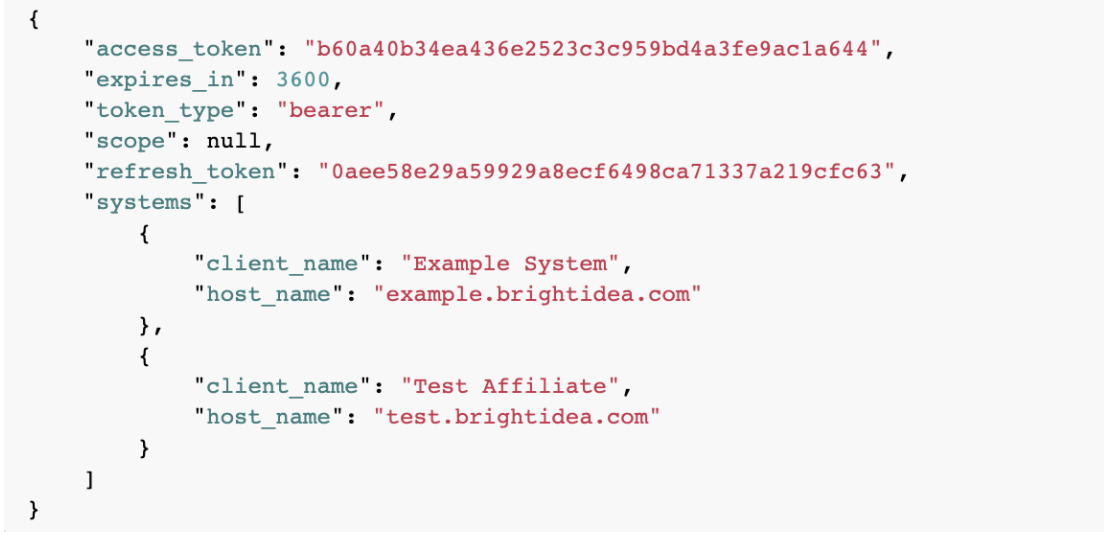
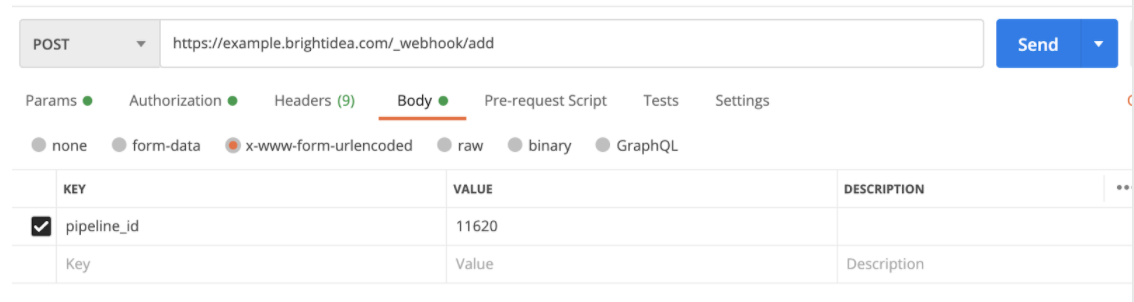
- Once you have a token, you will need to POST into /_webhook/add using the token in the header and the pipeline ID in the form data.
- If successful, you will receive a hash_id that you will be able to use in your requests from Zendesk:

Setting up Zendesk
Now that we have a hash ID connected to the specific pipeline, we can set up a webhook in Zendesk that will use the static hash rather than an access token (the latter would need to be refreshed every hour).
Within Zendesk, navigate to Admin Center > Integrations > Webhooks then under the Actions drop-down menu, click “Create Webhook”

In the configuration fields, provide your Brightidea domain into the URL shown in the image below (https://[YOUR DOMAIN].brightidea.com/_webhook/incoming). Also, make sure the Request method is POST, the format is JSON, and authentication is “None”:

After the settings are properly configured, click “Test Webhook”, select Custom test, and you can use the following code to test the connection:
Note: Replace the hash_id placeholder with the hash_id you generated above, and insert your email address for submitter:
{
"hash_id": "{ENTER YOUR HASH ID}",
"title": "Test Title",
"description": "Test Description",
"action": "create_idea",
"submitter": "{ENTER YOUR EMAIL}"
}
If the test was successful, you will get a 200 status code in return: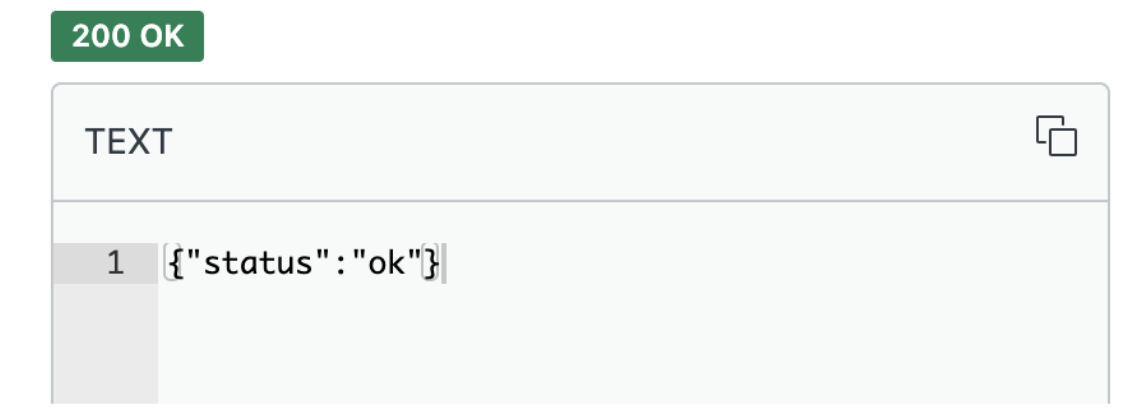
Now that your webhook is successfully configured, you will need to connect it to a trigger in Zendesk to push tickets into Brightidea when a specific event takes place.
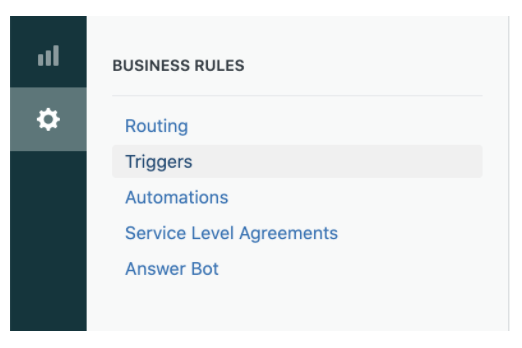
Navigate to Admin (Gear Icon) > Triggers > Add Trigger:
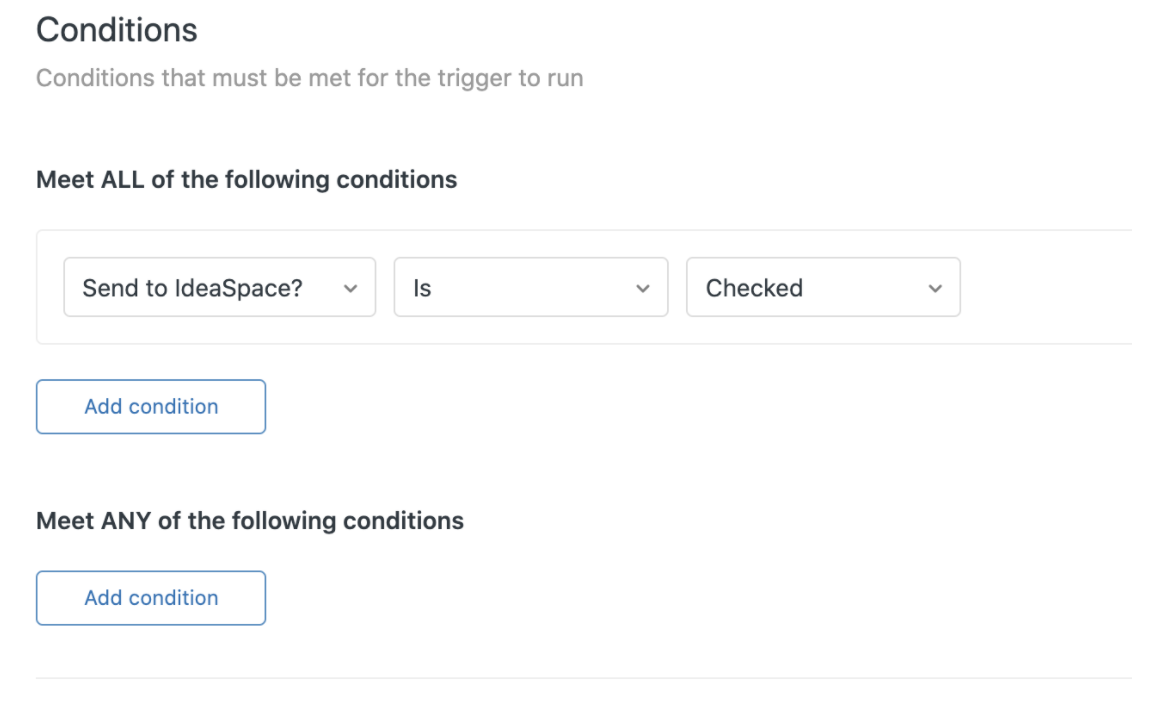
Under Conditions, choose the event and conditions that need to take place in Zendesk before the ticket is sent into Brightidea as a new idea.
In the example below, we’ve created a new field for Agents to check before a ticket is Resolved called “Send to IdeaSpace”. In other words, if the field is checked by the agent, then the ticket will be sent to Brightidea.
Under Actions, choose “Notify active webhook” in the first dropdown, then choose the Webhook that you created in the step above in the second drop-down menu:
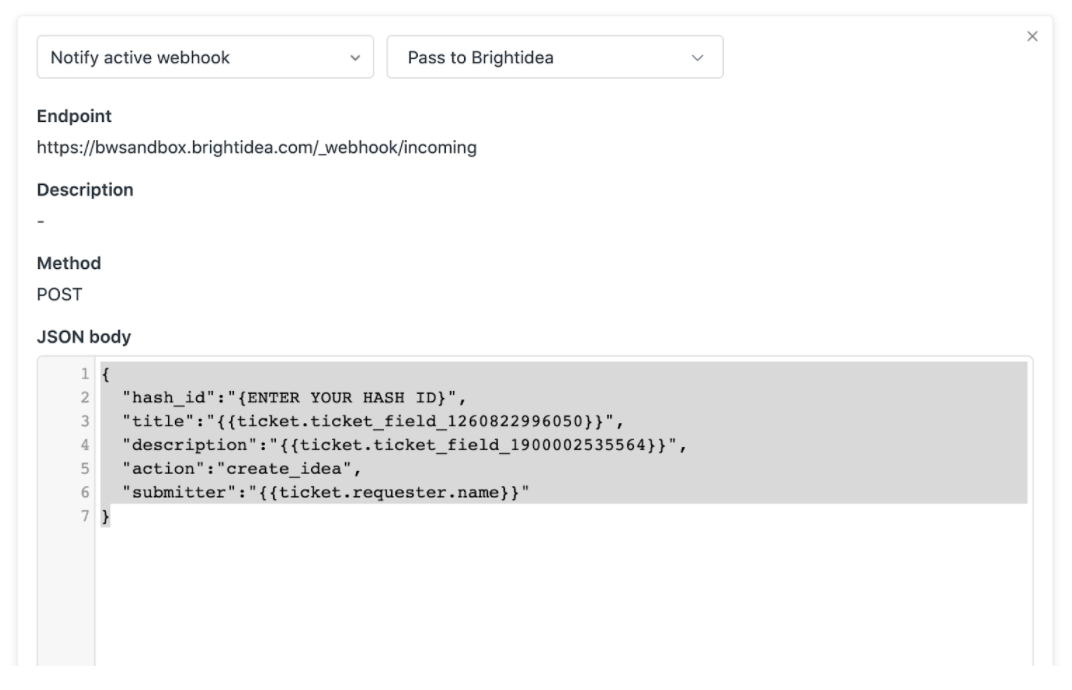
You will now need to configure the JSON request and the data points that you will be passing over to Brightidea.
Note: If you click “View Available Placeholders” at the bottom of the page, Zendesk provides dynamic fields that will pass specific data over from the ticket. (i.e. {{ticket.requester.name}} shown above for “submitter”.
Brightidea requires some fields by default for the JSON request, while others can be passed over optionally:
- Required Fields:
- hash_id: Use the hash you received in the steps listed above.
- action: create_idea
- title: This will be the title of your newly created idea (map it to a dynamic column header in the ServiceNow table)
- description: This will be the description of your newly created idea (map it to a dynamic column header in the ServiceNow table)
- Optional Fields:
- submitter: Email address of the submitter
- category: This will be the category of your newly created idea
- Additional Questions: If you have additional fields in your Brightidea pipeline, you can set those up in your request by using the question ID. In the example below, we're passing the ServiceNow record URL into Brightidea as an additional field. (See the Additional Questions field under Create Idea in our API documentation for instructions)
Click “Save” and your webhook/trigger are now properly configured. You can test it out by meeting the conditions you specified above in the trigger.
Comments